Follow Me On Social Media!

Gluten-Free Artisan Bread: The Best Homemade Delight!
Introduction to Gluten-Free Artisan Bread
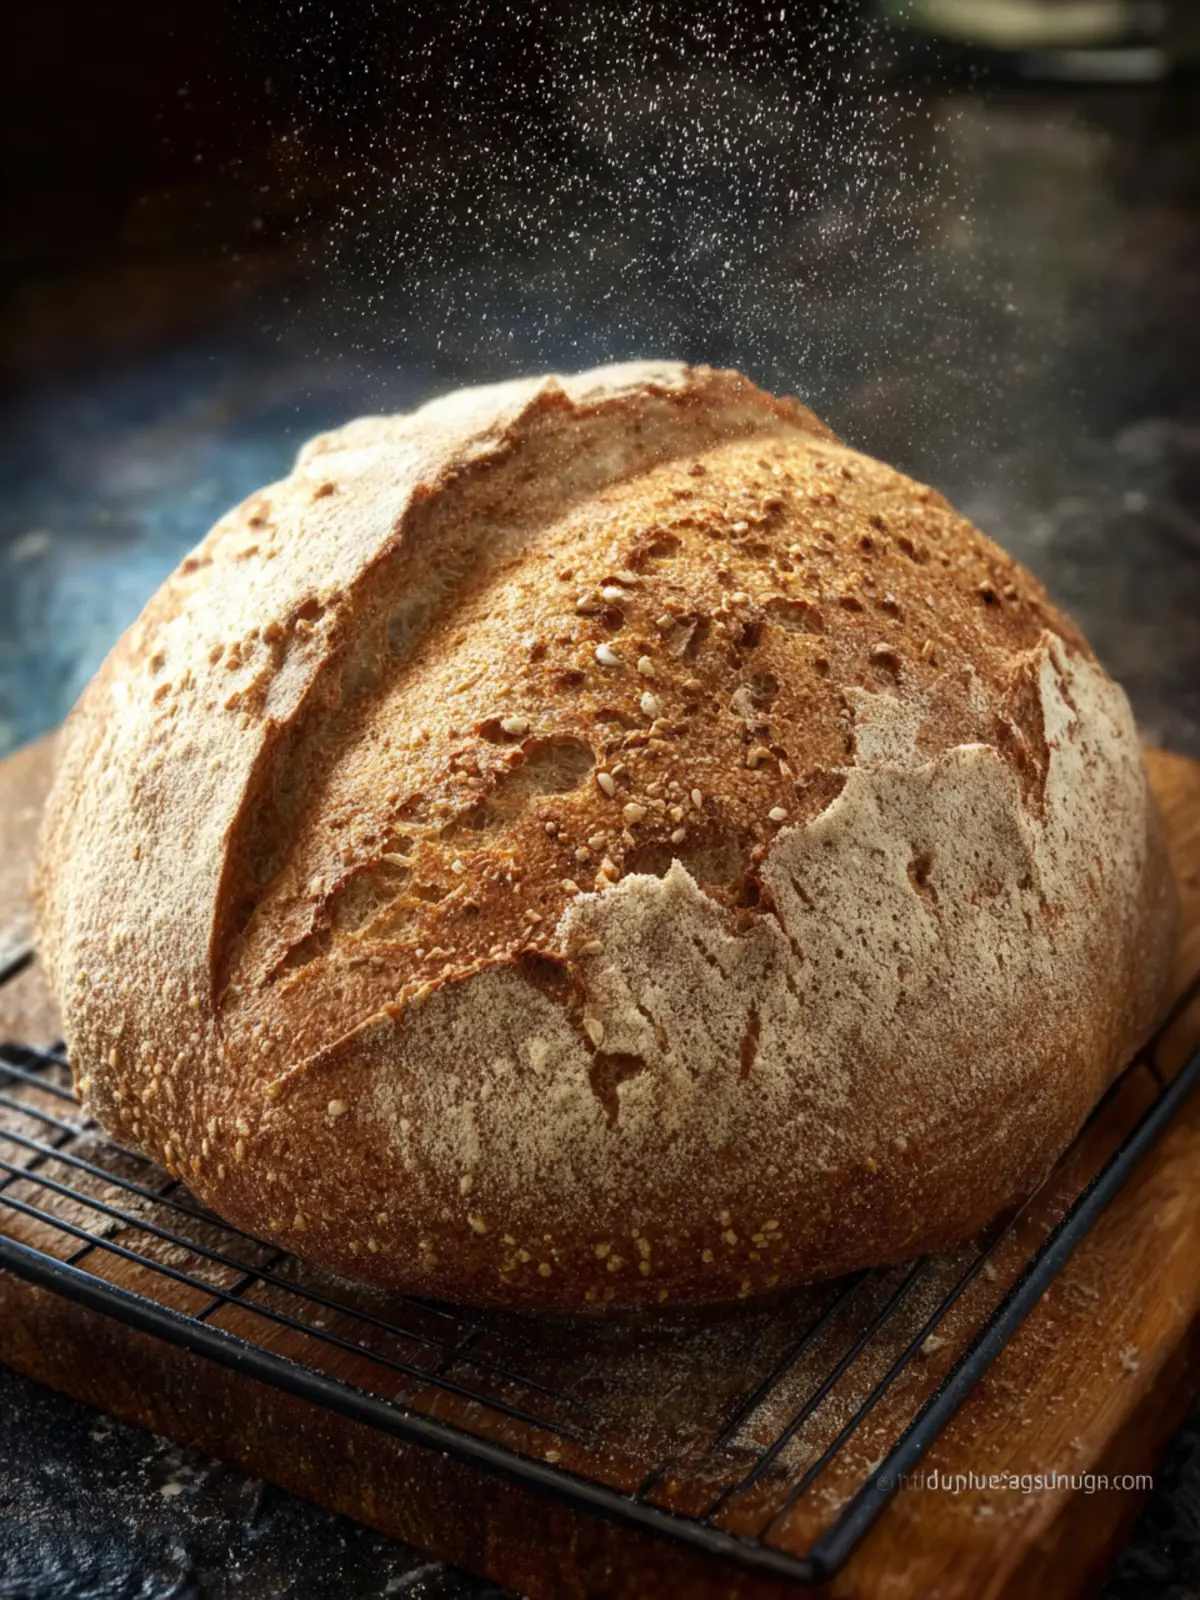
Imagine walking into a cozy kitchen, the aroma of freshly baked bread wafting through the air, and the promise of that first warm slice just waiting for you. Gluten-free artisan bread not only embodies this sensory delight but also brings the joy of guilt-free indulgence for those who must avoid gluten. What’s remarkable about this bread is that it’s made with a variety of wholesome ingredients that work together to create a deliciously rich and satisfying product. One bite and you’ll understand why so many are eager to embrace this delightful alternative.
There’s something truly special about crafting artisan bread. For many, it’s about more than just baking; it’s a form of art and an opportunity for culinary experimentation. The ingredients used are thoughtfully selected to ensure the final product is not only gluten-free but also fluffy and flavorful. Many people shy away from gluten-free options, fearing they’ll be dense or crumbly, but that’s where this recipe shines. It guarantees a crusty exterior with a soft, tender inside. Plus, you can personalize it with your favorite spices, herbs, or grains to create your own unique twist.
What Makes Gluten-Free Artisan Bread a Must-Try?
-
Flavorful and Versatile: Unlike many store-bought gluten-free breads that can leave much to be desired, this artisan version bursts with flavor. From nutty to sweet, the options are endless!
-
Healthy Choices: With ingredients like almond flour and flaxseed, you’re not only enjoying the taste but also packing in nutrients that might be lacking in traditional bread.
-
Customizable: Whether you prefer a classic blend or want to spice it up with herbs or seeds, this bread meets your creativity head-on. You can adjust the recipe to fit your palate perfectly.
-
Freshness: There’s nothing quite like baking your own bread. The satisfaction that comes from kneading the dough and watching it rise is simply unmatched.
So roll up your sleeves and let’s dive into the art of making gluten-free artisan bread. Your kitchen is about to become the heart of warmth and deliciousness!

Key Ingredients for Gluten-Free Artisan Bread
Creating the perfect gluten-free artisan bread begins with selecting high-quality ingredients that bring out the best flavors and textures. The right balance not only enhances your bread but also makes the baking process a delightful journey.
Gluten-Free Flour Blend: I love using a combination of gluten-free flours, including brown rice, tapioca, and almond flour. This mix ensures a lovely texture and helps the bread rise as well as retain moisture.
Psyllium Husk Powder: This is my go-to secret ingredient for mimicking the elasticity that gluten provides. It helps bind ingredients together and contributes to a delightfully chewy crust.
Yeast: Fresh yeast brings life to the dough, allowing it to rise beautifully. Using instant yeast is super convenient as it eliminates the need for proofing, speeding up the process.
Water: It’s amazing how water can transform dry ingredients into dough. Warm water helps activate the yeast and create a smooth mixture.
Salt: A vital ingredient that enhances flavor, salt also strengthens the dough, helping it rise better while improving the overall taste.
These components work together to create an inviting loaf that is both satisfying and wholesome, setting the stage for your next baking adventure!
Why You’ll Love This Recipe
Gluten-free artisan bread isn’t just another recipe; it’s an experience that transforms simple ingredients into a warm, hand-crafted delight. Imagine slicing into a loaf with a crunchy crust, revealing a soft, airy interior that begs to be slathered with your favorite spreads.
Flavor and Texture
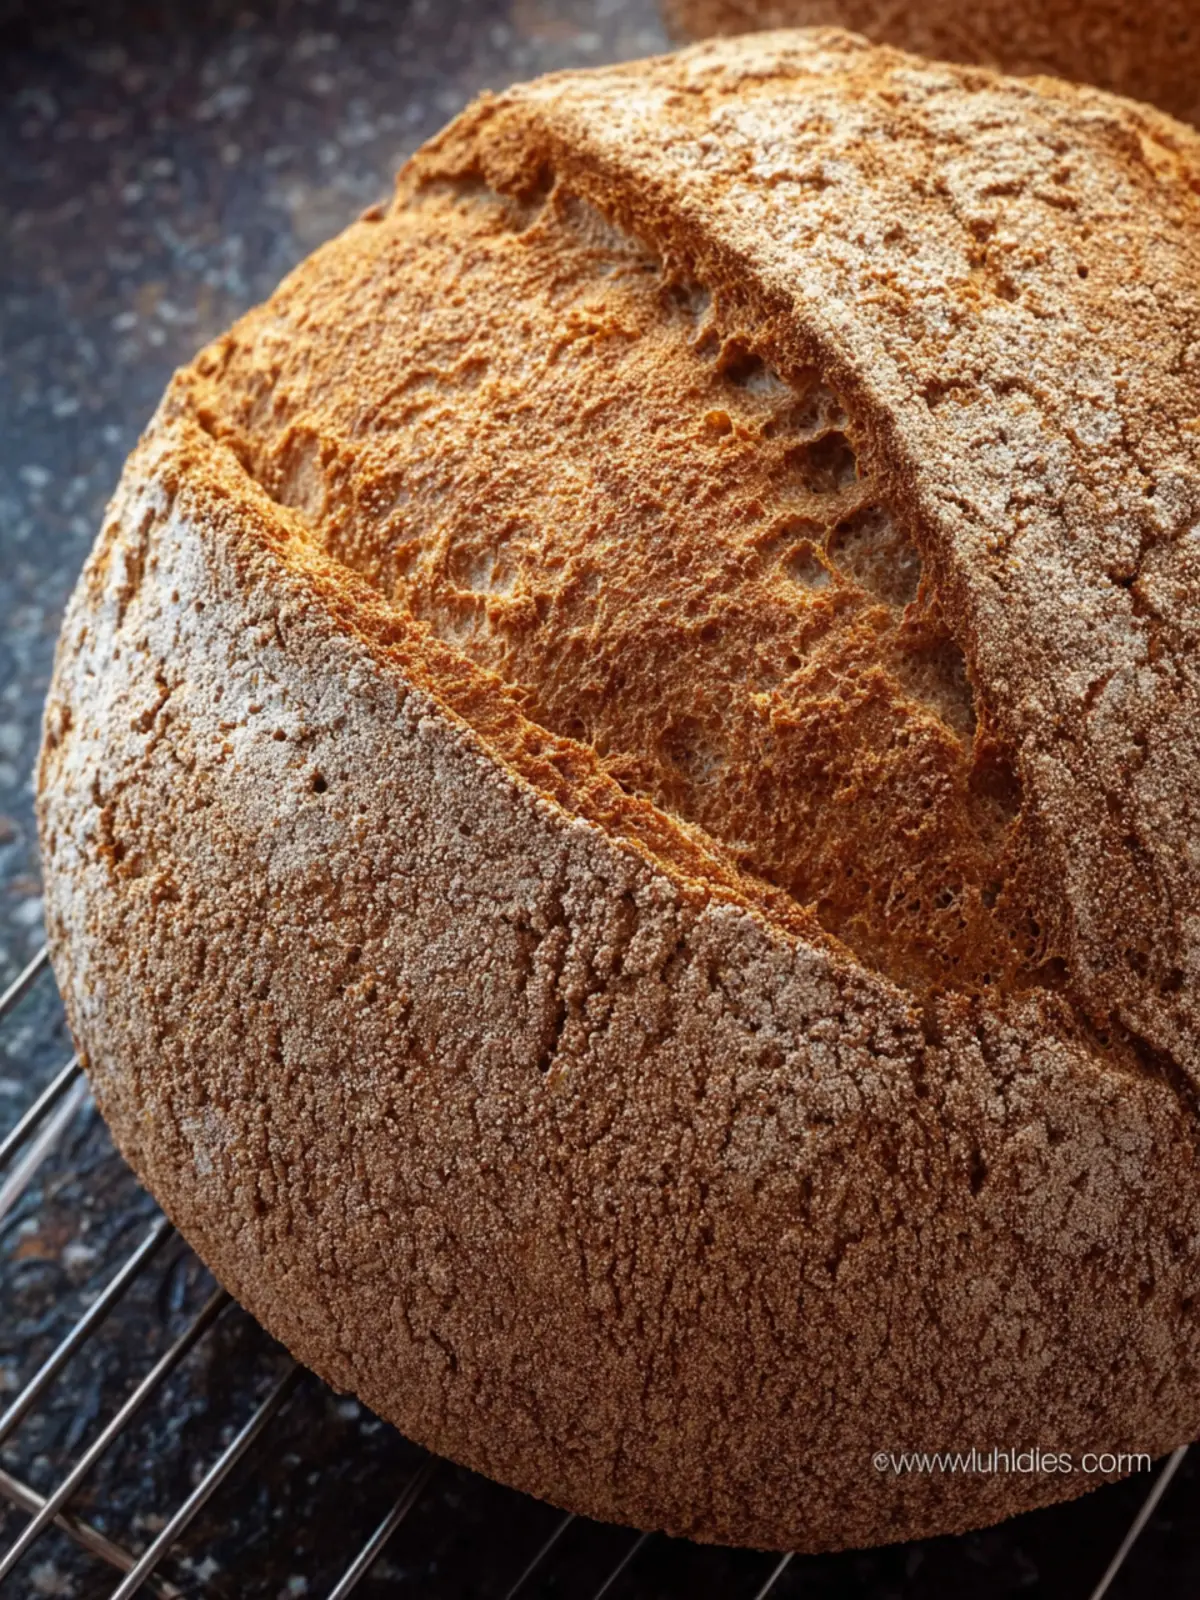
What truly sets this gluten-free artisan bread apart is its incredible flavor and texture. Each bite offers a delightful balance of nutty notes from the gluten-free flours, combined with the rich aroma from the baking process. The crust is perfectly crispy, while the inside remains soft and chewy—a pairing that’s hard to resist. Whether toasted for breakfast or served alongside a hearty dinner, this bread is sure to impress.
Health Considerations
Crafting this gluten-free artisan bread not only caters to those with dietary restrictions but also aligns with health-conscious choices. It’s made using wholesome ingredients, free from processed additives found in many store-bought alternatives. You’ll love knowing that you’re enjoying bread that’s gentle on your gut and made from natural components.
Versatility in Use
The versatility of gluten-free artisan bread is unmatched. It can be transformed into delicious sandwiches, decadent French toast, or even enjoyed solo with just a bit of butter. Whether you’re hosting friends or simply treating yourself, this bread adapts beautifully to any occasion. You’ll find yourself making it time and again, ready to savor its delightful possibilities!
Tips for Making Perfect Gluten-Free Artisan Bread
Creating gluten-free artisan bread can feel like an art form, and getting it just right requires a few key tips. Let’s dive into some essential aspects that can elevate your baking experience.
Achieving the Right Dough Consistency
The texture of your dough plays a crucial role in the final product. A well-balanced gluten-free artisan bread dough should be somewhat sticky but not overly wet. It should easily hold its shape while allowing for some tackiness. If it seems too dry, add a splash of water; if it’s too wet, a bit of gluten-free flour can help. Finding that perfect consistency can take some practice, but it’s worth it!
Creating an Optimal Rising Environment
For your dough to rise beautifully, providing a warm, draft-free space is essential. If the kitchen is cool, consider placing the dough inside an oven (turned off) with just the light on. This warm environment will encourage the yeast to work its magic, allowing the gluten-free artisan bread to develop a nice puff.
Mastering Baking Techniques
Baking at the right temperature is key. Preheat your oven thoroughly to ensure your bread bakes evenly. Also, try using a baking stone if you have one; it helps create that wonderful crust we all love. Lastly, let your bread cool completely before slicing—this final step allows the flavors to meld and the texture to set perfectly.
By implementing these tips, you’ll be well on your way to baking the ideal gluten-free artisan bread that delights the senses!
Time Details for Gluten-Free Artisan Bread
Making gluten-free artisan bread is a rewarding journey that requires some dedicated time, but the results are absolutely worth it. Here’s a breakdown of the key time elements in this process:
Preparation time
Getting everything ready takes about 15 minutes. Measure your flour, blend your ingredients, and set up your workstation to create a smooth workflow.
Rising time
Allow your dough to rise for approximately 1-2 hours, depending on your kitchen’s temperature. This step is crucial for developing that lovely texture.
Baking time
The baking process typically takes about 40-50 minutes. Keep an eye on that beautiful crust; you’ll want it golden brown!
Total time
In total, you’re looking at around 2-3 hours from start to finish. Though it seems lengthy, each moment builds flavor and texture, making your gluten-free artisan bread a labor of love.
Nutritional Information for Gluten-Free Artisan Bread
Understanding the nutritional value of your favorite gluten-free artisan bread can inspire you to enjoy it more fully. Knowing what’s in that warm, crusty loaf helps you appreciate it even more, doesn’t it? Here’s a breakdown of the essential elements contained in a typical serving:
Calories
A single slice typically contains around 200 calories, depending on the exact ingredients used. This makes it a satisfying choice without overflowing your daily caloric intake.
Protein
Each slice offers about 4-5 grams of protein, which is vital for maintaining muscle health and keeping you full longer. Pair it with your favorite nut butter for an extra protein boost!
Fiber
Among the many benefits, this artisan bread can provide about 3 grams of dietary fiber per slice. Fiber is important for digestion and can help regulate blood sugar levels.
Carbohydrates
On the flip side, each slice has approximately 36 grams of carbs. While that may seem high, these carbohydrates come from wholesome ingredients that your body can use effectively for energy.
Enjoy your gluten-free artisan bread knowing you’re making a deliciously nutritious choice!
FAQs about Gluten-Free Artisan Bread
Creating a delicious gluten-free artisan bread can spark curiosity and questions. Let’s dive into some common queries to help enhance your baking experience.
What makes gluten-free bread dense?
Dense texture in gluten-free bread often stems from the absence of gluten, which normally provides that airy structure. Many gluten-free flours, such as rice or almond flour, lack the elasticity provided by wheat flour. To combat this, consider incorporating a mix of different flours, adding xanthan gum, or using cooking techniques like soaking.
Can I use this recipe with different flours?
Absolutely! While this recipe for gluten-free artisan bread is designed with specific flours for optimal flavor and texture, feel free to experiment. You can use blends like oat, tapioca, or coconut flour. Just remember that some flours absorb moisture differently, so you might need to adjust the liquid quantities accordingly.
How can I store gluten-free artisan bread?
To maintain freshness, wrap your gluten-free artisan bread tightly in plastic wrap or aluminum foil. Store it at room temperature for up to two days. For longer storage, slice the bread and freeze it in a resealable bag. This way, you can enjoy a piece anytime by simply toasting it straight from the freezer.
What is the best way to reheat gluten-free bread?
Reheating your gluten-free artisan bread can be easy and effective. For a crispy crust, pop slices in a toaster or toast them in a skillet on medium heat. Alternatively, you can wrap the bread in foil and warm it in a preheated oven at 350°F (175°C) for about 10-15 minutes, perfect if you want to refresh the entire loaf.
Conclusion on Gluten-Free Artisan Bread
Baking gluten-free artisan bread can be a truly rewarding experience, transforming simple ingredients into a warm and delightful loaf that everyone can enjoy. This recipe provides not just delicious bread, but a chance to experiment and connect with the art of baking. By choosing quality gluten-free flour and incorporating healthy add-ins, you’re creating a nourishing option that caters to diverse diets. Whether enjoyed fresh out of the oven or toasted for breakfast, your homemade bread invites conversations and moments shared with friends and family. So, roll up your sleeves and enjoy the journey to gluten-free greatness!
Print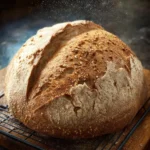
Gluten Free Crusty Bread
- Total Time: 1 hour
- Yield: 1 loaf 1x
- Diet: Gluten Free
Description
This gluten free crusty bread is made with a blend of gluten free flour and psyllium husks, creating a realistic texture and delicious taste.
Ingredients
Scale
- 488 grams gluten free flour blend (* See Notes)
- 2 1/2 teaspoons rapid yeast (1 packet)
- 16 grams psyllium husks (* See Notes)
- 2 1/2 cups purified water (* See Notes)
Instructions
- Before you make this bread, prepare your psyllium husk gel. Measure the psyllium husks using a digital scale and place them into a small bowl. Add the husks to 1 1/2 cups of water and mix. Let it sit for 5 minutes until it forms a gel.
- In the bowl of a stand mixer, add the remaining water, psyllium gel, flour, sugar, and rapid yeast. Add a paddle attachment and turn the mixer on low to incorporate the ingredients. Turn the speed up to medium and let the dough mix well. It is finished mixing when it pulls away from the edges of the mixer bowl.
- Remove the dough and place it onto a flour-dusted silicone mat. Your dough should be tacky but easy to work.
- Roll the dough into a ball, then press it down into a large circle.
- Fold over the ends to give the dough a bit of structure so it rises upward better. Flip the dough over and shape it into a ball.
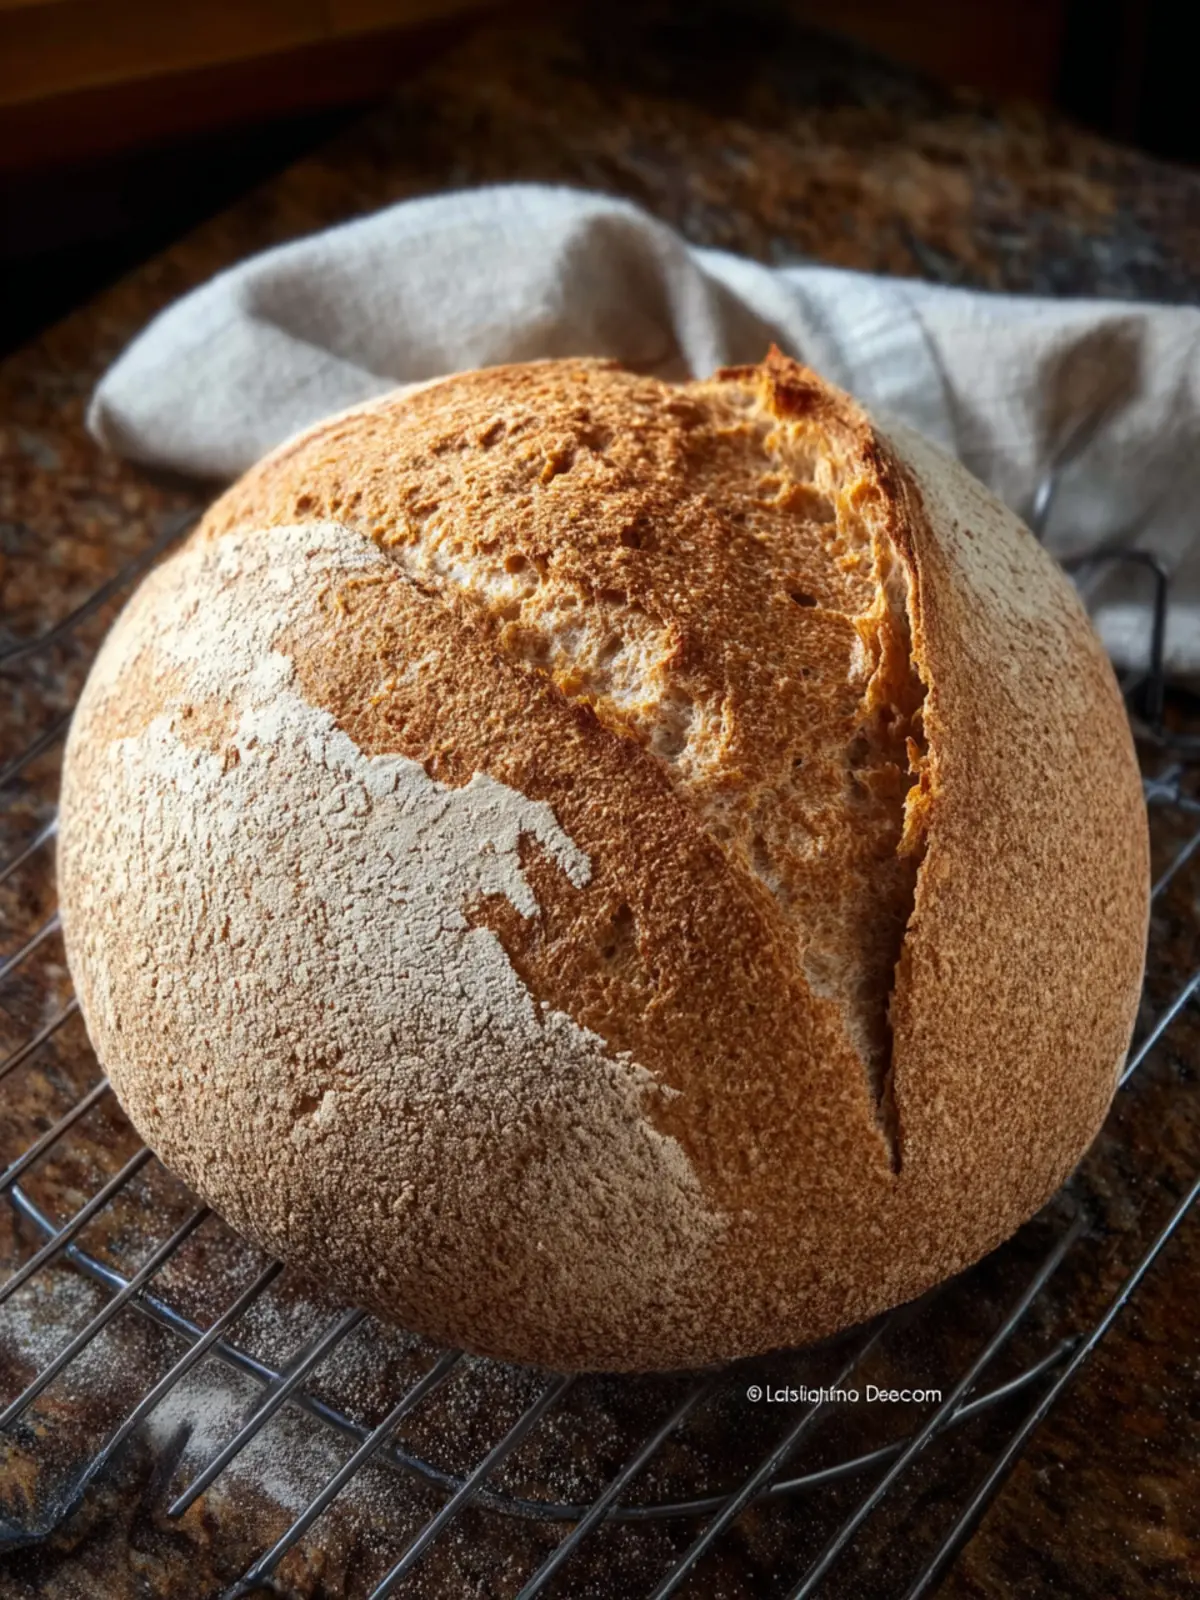
- Place the dough into a round banneton to rise in a round shape. You can also make it oval-shaped using an oval banneton basket.
- Cover the banneton loosely with plastic wrap, or use a disposable shower cap and wrap it over the basket, and put the dough in a warm spot to rise. The dough should double in size, about 45 minutes, if it is warm. If it is cooler, the rise time will take longer.
- Preheat the oven to 450ºF with a Dutch oven with the lid on in the oven. You can bake the bread in a Dutch oven or place the dough onto a parchment paper-lined baking sheet.
- Use a bread lame to make a slash in the dough.
- Carefully remove the Dutch oven or baking sheet from the oven. If using a Dutch oven, drop the dough in and put the lid on. Return it to the oven.
- If using the baking dish and pan method, place the bread on the baking sheet and drop 4-5 ice cubes into the hot pan below and quickly close the oven door.
- Bake the bread for 40-45 minutes. The bread should look golden brown on the outside and have an internal temperature of 210ºF.
- Put on oven mitts and carefully remove the Dutch oven from the oven. Use the parchment paper to lift the bread out and transfer it to a cooling rack.
- Do not slice the bread until it is fully cooled. If you slice it while it is warm, the bread will be a little gummy.
Notes
- Make sure to measure the psyllium husks accurately as they are crucial for the bread texture.
- Using a digital scale can help in achieving precise measurements.
- Allow the bread to cool fully before slicing to avoid a gummy texture.
- Prep Time: 15 minutes
- Cook Time: 45 minutes
- Category: Bread
- Method: Baking
- Cuisine: Gluten Free
Nutrition
- Serving Size: 1 slice
- Calories: 200
- Sugar: 1g
- Sodium: 200mg
- Fat: 3g
- Saturated Fat: 0.5g
- Unsaturated Fat: 2g
- Trans Fat: 0g
- Carbohydrates: 40g
- Fiber: 4g
- Protein: 6g
- Cholesterol: 0mg